
I’ve been dabbling with Lightroom recently to explore which settings work well when taking photographs of birds, and I want to share what I’ve learned along the way. Taking photographs of birds can be very rewarding and very frustrating, in equal measure.
A good telephoto lens is essential for capturing many birds. As soon as you get close enough for a shot, most birds will vanish in an instant. Attention to the camera settings, such as having a quick shutter speed and a low aperture to enable enough light, is also key. I find that getting out with the camera early in the morning is good, not just for the golden hour, but also because many birds are active then.
Preamble aside, let’s assume you have taken the shots you need and are ready for post-production in Lightroom. What steps can you take in Lightroom to improve the image?
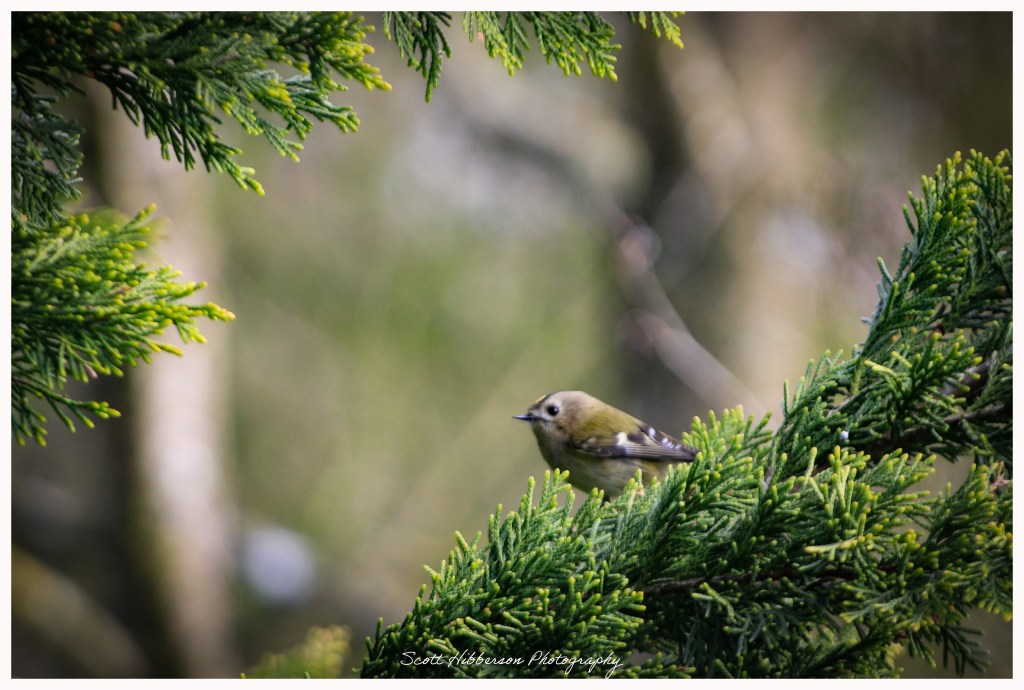
Let’s take a look at five key adjustments you can make, using the image of the beautiful Goldcrest below as an example.
Five Lightroom tips
1. Subject masking
You want to draw the viewer’s eye to the bird, it’s the star of the shot after all. Create a mask for the bird and increase exposure, shadows, and texture accordingly on the bird to make it pop without affecting the background.
2. Consider the frame
Think about how you can crop the image so the bird is central to the shot. The crop can also help with framing the subject. In the image above, I’ve used this technique by utilising the tree’s branches to wrap around the frame, creating an impactful splash of green. It’s also worth paying attention to where the bird is looking to ensure there is enough free space in the shot.
3. Shallow depth of field
Applying a low aperture setting helps to bring the subject in sharp focus and blur the background, ensuring that the viewer’s attention is drawn to the bird. You can always maximise this effect in post-production by applying a background mask to lower the exposure and clarity of the background too.
4. Vignette
This is a basic technique to darken the edges of the image and again draw the viewer’s focus to the subject. I like to be subtle and not darken the edges too much so it looks natural.
5. Radial gradient
It’s often difficult to bring out the detail in a bird’s face on a first pass, but luckily there are measures you can take in post-production to help. Applying a radial gradient to the bird’s face, where you can dial up the exposure and the clarity, helps.
Reflections
Reflecting on my journey into bird photography, I’ve come to appreciate how much patience and persistence it demands. There’s something exhilarating about chasing those split-second moments when a bird takes flight – just as quickly as they appear, they’re gone, leaving you both humbled and hooked. And while missing that perfect shot can be frustrating, it only makes the moments when everything clicks feel that much more rewarding.
Early mornings have become a quiet ritual, offering both better light and a livelier cast of subjects. Yet, it’s in post-production where the images truly come alive. Experimenting with Lightroom has shown me how subtle adjustments, like carefully masking the subject, refining the composition, or gently guiding the viewer’s eye with vignettes and gradients, can elevate a simple shot into something more compelling.
It’s a reminder that great bird photography doesn’t end in the field; it’s a craft that continues long after the shutter clicks.
